Creating a reliable sand-casting setup at home can be a challenge, especially when most commercially available frames and crucibles fall short in durability or practical design. For goldsmiths who enjoy hands-on craftsmanship, building a two-part aluminium frame paired with a custom Skamolex crucible offers a sturdy, heat-resistant, and workshop-friendly solution.
In this guide, we walk through the process of crafting a three-piece casting set from scratch — including the aluminium flask elements and a precisely carved Skamolex crucible mounted on a comfortable wooden handle. This setup is ideal for small metal pours in silver, gold, bronze, or brass, and is designed to withstand repeated heating without deformation.
Why Build Your Own Sand Casting Set?
Professionals often prefer custom tools because they offer better control, higher precision, and long-term reliability. Aluminium frames hold their shape even after extensive use, and Skamolex — known for its excellent insulation properties — makes an ideal material for a compact, easily manageable crucible.
By crafting this set yourself, you’re able to:
-
Fit the dimensions exactly to your preferred casting volume
-
Ensure optimal alignment of the two aluminium halves
-
Shape a crucible that suits your torch and pouring technique
-
Build a tool that will last years
Preparing the Aluminium Frames
Begin with two rectangular aluminium boxes sized to your casting needs. You’ll open ventilation and alignment holes, ensure a smooth inner surface, and refine the fit so both halves lock together securely during packing and ramming. Small adjustments with a file or abrasive pads help achieve tight tolerances, which are essential for consistent sand impressions.
Carving the Skamolex Crucible
Start with a solid Skamolex block, then cut and recess the cavity where the molten metal will collect. This material works beautifully with hand tools — even simple woodworking chisels can create clean edges. The pouring channel should be shaped with a slight taper to guide metal smoothly into your mold. Once carved, attach the block to a wooden handle using heat-resistant adhesive or screws so you can handle the crucible comfortably under high temperatures.
A Practical Set for Everyday Goldsmithing
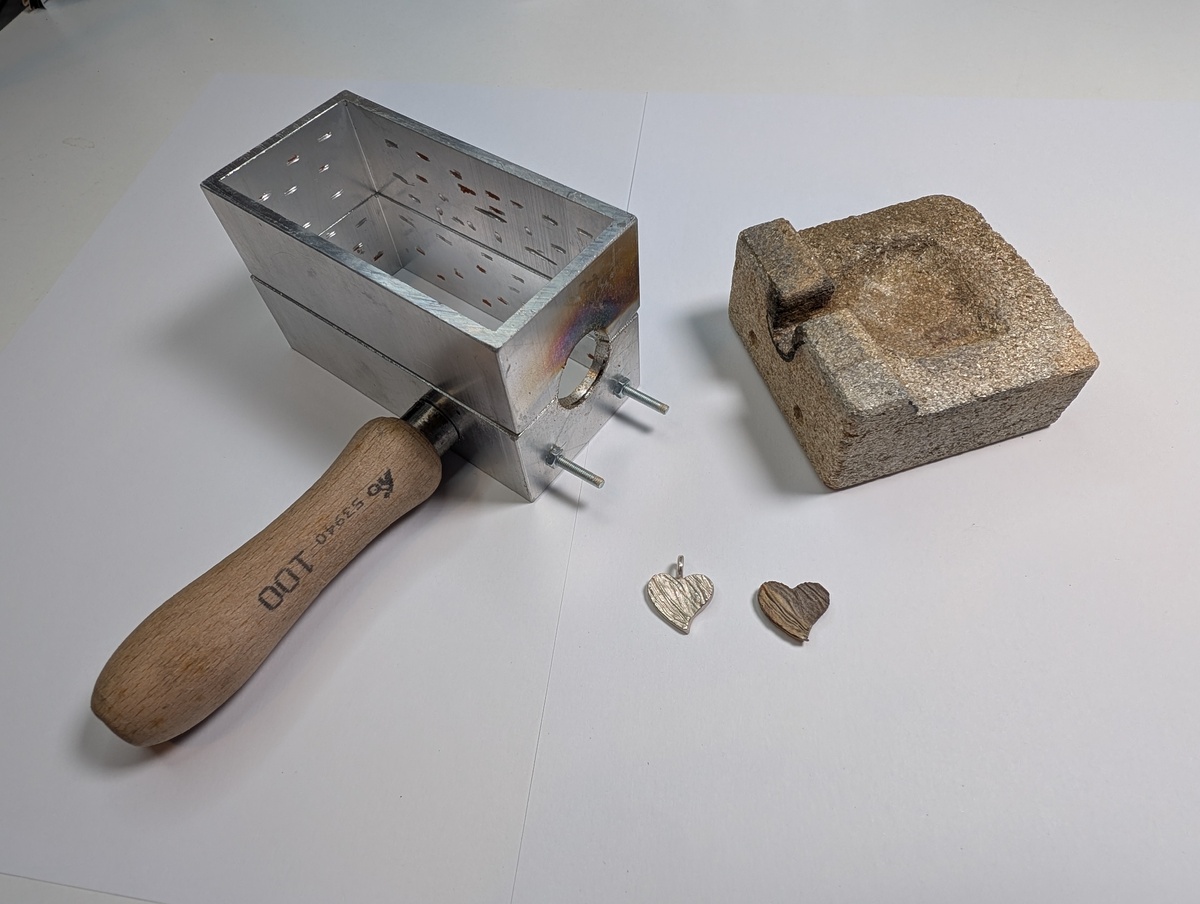
Once assembled, the aluminium frames and Skamolex crucible form a dependable set that performs remarkably well for everyday sand casting. Whether you’re making textured charms, small pendants, or experimental organic shapes, this DIY kit gives you the precision and flexibility that store-bought sets rarely offer.
Please click on Additional information to find a list of needed tools and further information on this tutorial.